Post Views: 196
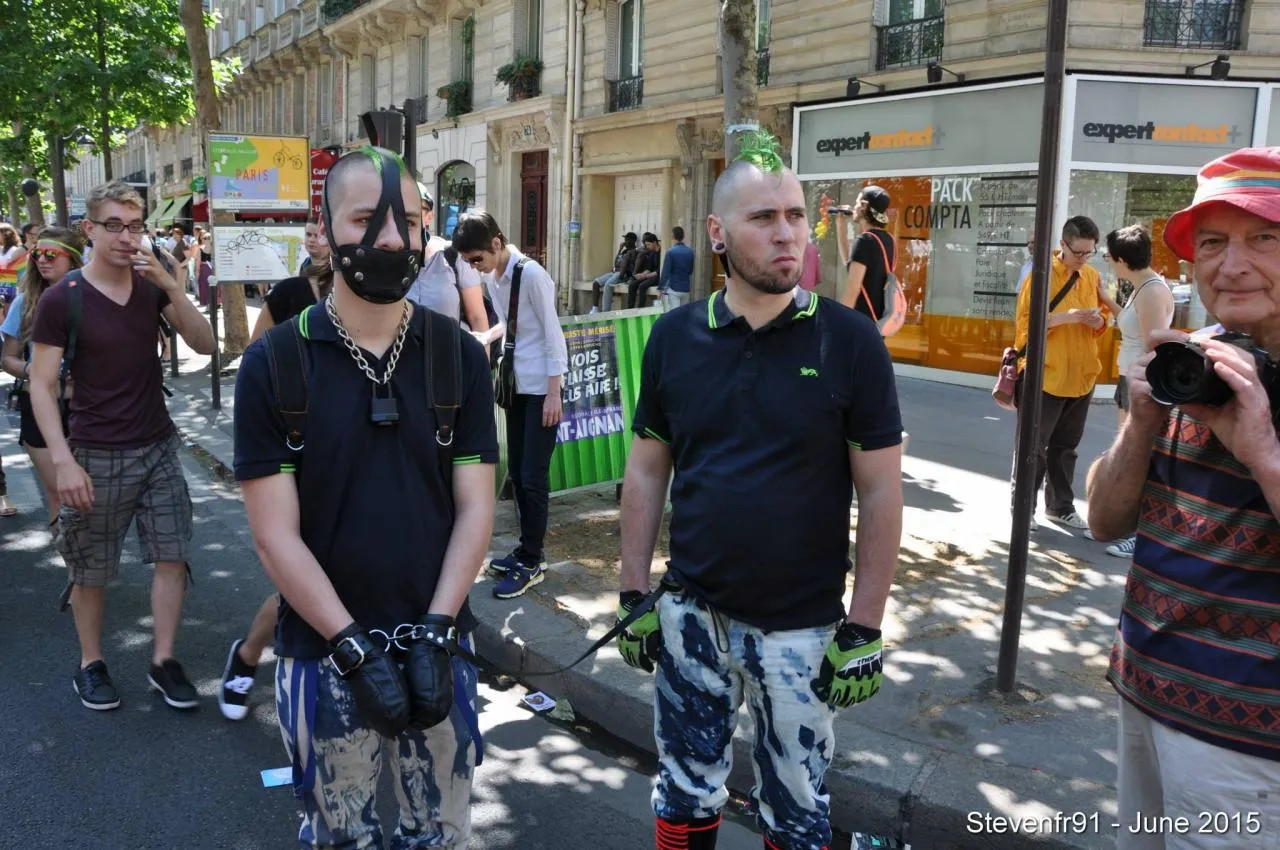
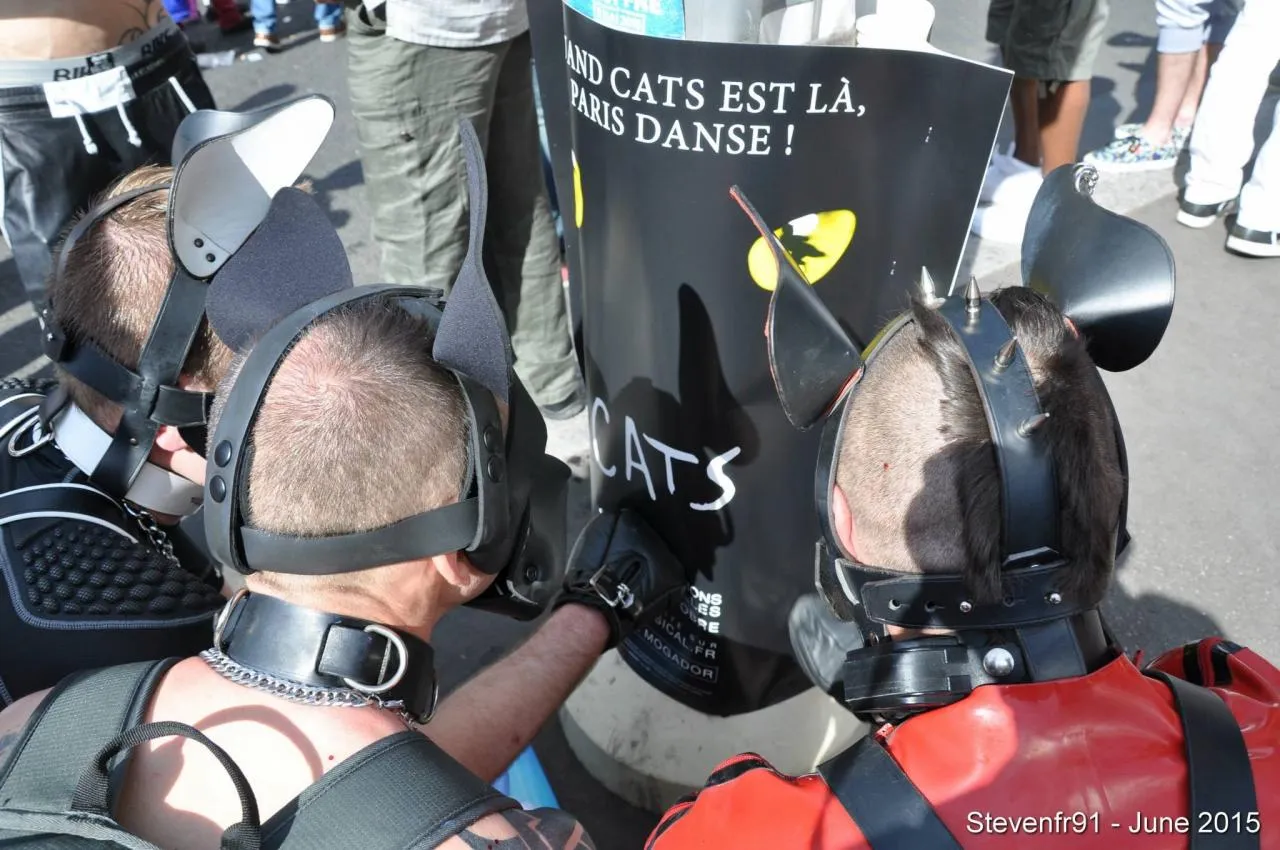
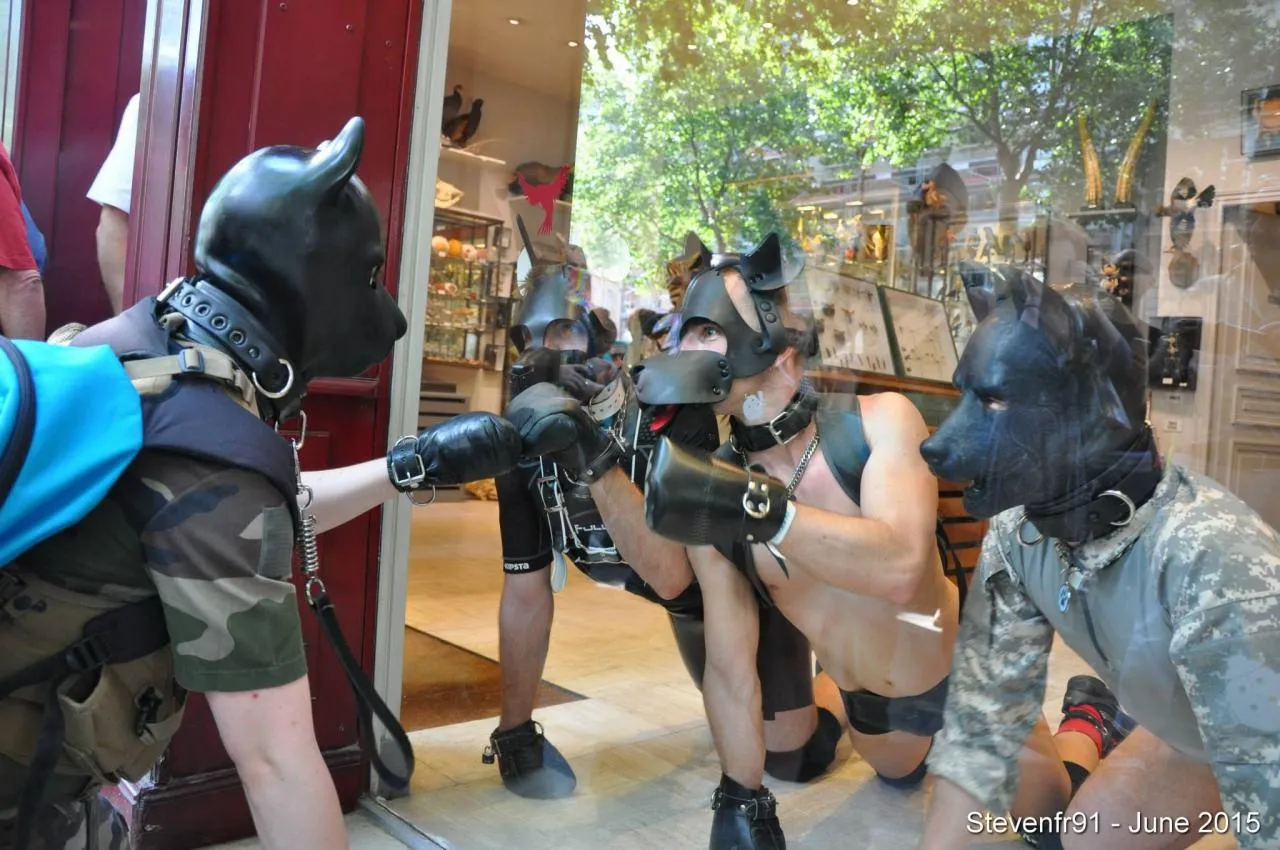
Crédit photos : Steven Gully
@ Steven Gully
@ Steven Gully
@ Steven Gully
@ Steven Gully
@ Steven Gully
@ Steven Gully
@ Steven Gully
@ Steven Gully
@ Steven Gully
@ Steven Gully
@ Steven Gully
@ Steven Gully
@ Steven Gully
@ Steven Gully
@ Steven Gully
@ Steven Gully
@ Steven Gully
@ Steven Gully
@ Steven Gully
@ Steven Gully
@ Steven Gully
@ Steven Gully
@ Steven Gully
@ Steven Gully
@ Steven Gully
@ Steven Gully
@ Steven Gully
@ Steven Gully
@ Steven Gully
@ Steven Gully
@ Steven Gully
@ Steven Gully
@ Steven Gully
@ Steven Gully
@ Steven Gully
@ Steven Gully
@ Steven Gully
@ Steven Gully
@ Steven Gully
@ Steven Gully
@ Steven Gully
@ Steven Gully
@ Steven Gully
@ Steven Gully
@ Steven Gully
@ Steven Gully
@ Steven Gully
@ Steven Gully
@ Steven Gully
@ Steven Gully
@ Steven Gully
@ Steven Gully
@ Steven Gully
@ Steven Gully
@ Steven Gully
@ Steven Gully
@ Steven Gully
@ Steven Gully
@ Steven Gully
@ Steven Gully
@ Steven Gully
@ Steven Gully
@ Steven Gully
@ Steven Gully
@ Steven Gully
@ Steven Gully
@ Steven Gully
@ Steven Gully
@ Steven Gully
@ Steven Gully
@ Steven Gully
@ Steven Gully
@ Steven Gully
@ Steven Gully
@ Steven Gully
@ Steven Gully
@ Steven Gully
@ Steven Gully
@ Steven Gully
@ Steven Gully
@ Steven Gully
@ Steven Gully
@ Steven Gully
@ Steven Gully
@ Steven Gully
@ Steven Gully
@ Steven Gully
@ Steven Gully
@ Steven Gully
@ Steven Gully
@ Steven Gully
@ Steven Gully
@ Steven Gully
@ Steven Gully
@ Steven Gully
@ Steven Gully
@ Steven Gully
@ Steven Gully
@ Steven Gully
@ Steven Gully
@ Steven Gully
@ Steven Gully
@ Steven Gully
@ Steven Gully
@ Steven Gully
@ Steven Gully
@ Steven Gully
@ Steven Gully
@ Steven Gully
@ Steven Gully
@ Steven Gully
@ Steven Gully
@ Steven Gully
@ Steven Gully
@ Steven Gully
@ Steven Gully
@ Steven Gully
@ Steven Gully
@ Steven Gully
@ Steven Gully
@ Steven Gully
@ Steven Gully
@ Steven Gully
@ Steven Gully
@ Steven Gully
@ Steven Gully
Tagged Photos